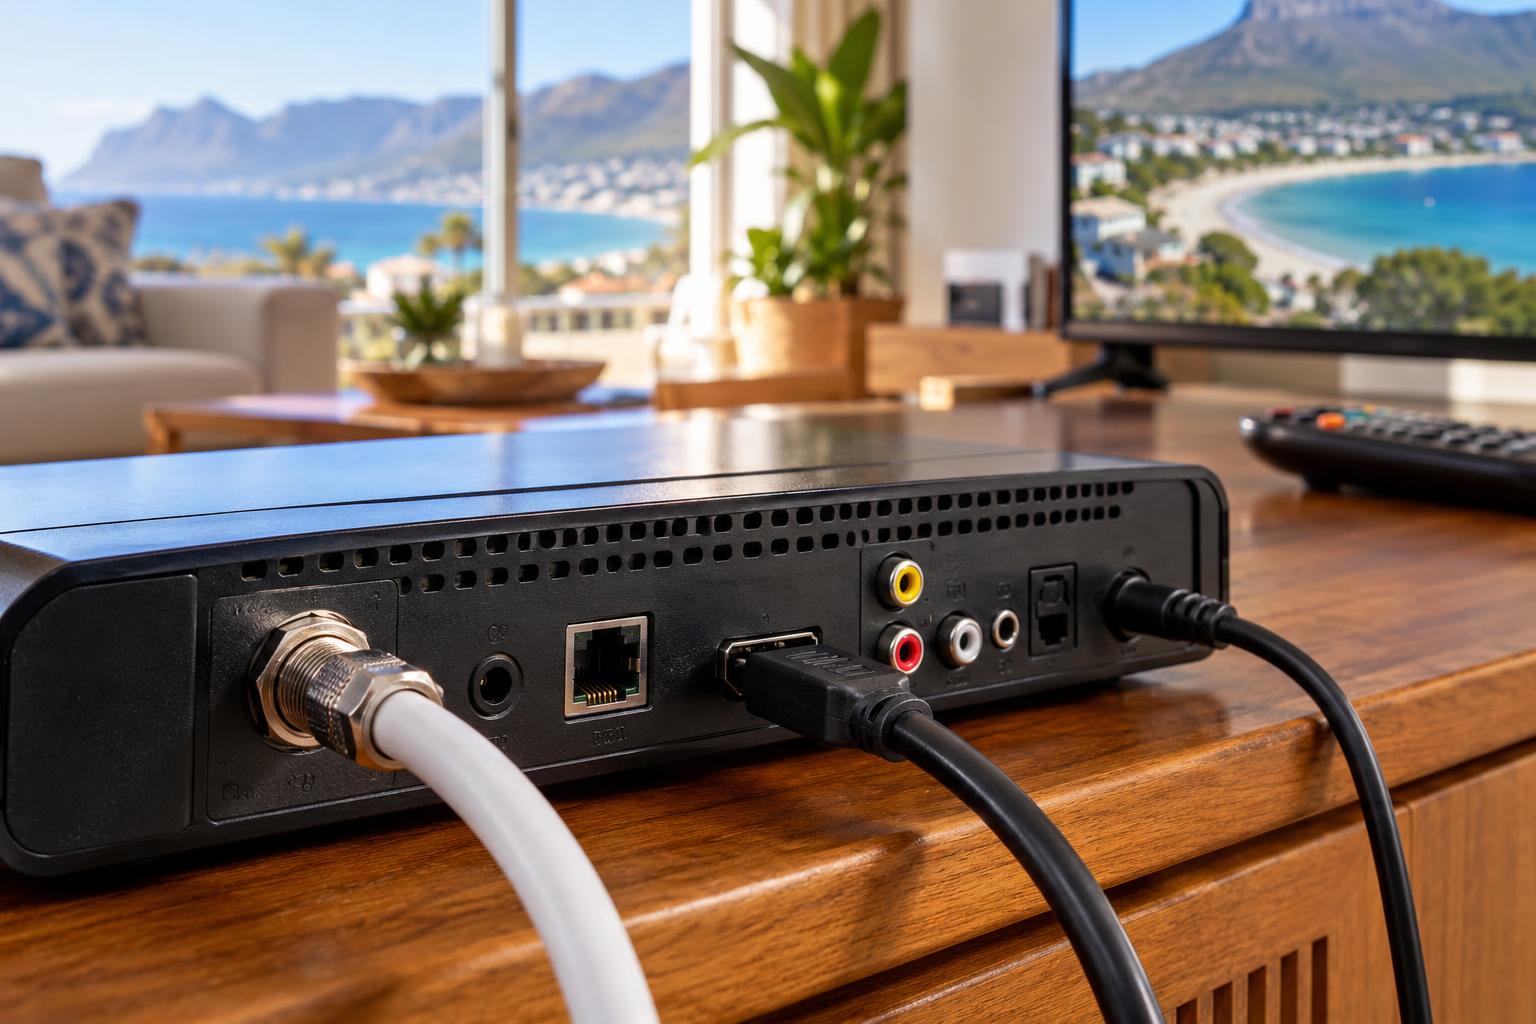
Quick answer: DStv decoder cables come in four main types. The round satellite cable brings the dish signal in, the HDMI cable sends picture and sound to the TV, the power supply runs the decoder and an optional network cable connects online features. Connect the satellite and HDMI cables first and the power last. Most "no picture" problems come from a loose connector, the wrong TV input or a corroded outdoor join.
Most of the DStv decoder cables Fish Hoek homes rely on are hidden behind a TV cabinet, so nobody looks at them until something goes wrong. Then the screen goes blank, just before the rugby starts. We fix this every week. This guide shows you what each cable does, how to connect them in the right order and how to find the fault when one of them lets you down.
Key points before you start
- The satellite cable carries the dish signal. HDMI carries picture and sound. They are not interchangeable.
- Always switch off at the wall before you plug or unplug any DStv decoder cables.
- Take a photo of the back panel before you remove a single cable.
- A "No signal" message from your TV is different from the DStv E48-32 error.
- In Fish Hoek, the outdoor joins near the dish fail far more often than the cables indoors.
What you need before you touch your DStv decoder cables
Start by knowing which of your DStv decoder cables is plugged in where. Every decoder has the same basic connections, even if the ports look a little different.
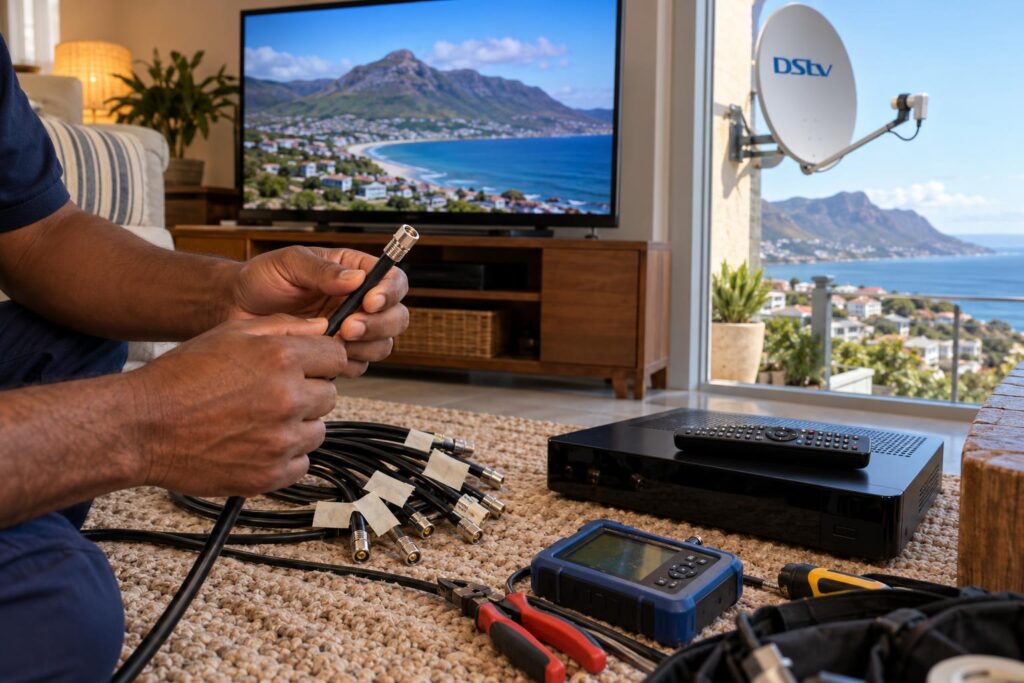
The four DStv decoder cables explained
- Satellite (coaxial) cable: round, usually black or white, with a screw-on F-connector. It runs from the LNB on the dish to the decoder's LNB input.
- HDMI cable: flat plug that runs from the decoder to the TV. It carries both picture and sound.
- Power supply: the adapter and lead that came with your decoder. The DStv Explora, for example, runs at 12 V DC through its own supplied power unit.
- Ethernet cable (optional): connects the decoder to your router for Catch Up and other online features. It does not carry TV channels.
Older TVs may use an AV cable with red, white and yellow plugs. It works, but the picture is not HD.
Here is a quick summary of DStv decoder cables and the fault each one usually causes.
| Cable | What it does | Where it plugs in | Typical fault |
|---|---|---|---|
| Satellite coax (RG6) | Brings the dish signal in | LNB input on the decoder | E48-32 or weak signal |
| HDMI | Picture and sound to the TV | HDMI out on decoder, HDMI in on TV | TV says "No signal" or "No input" |
| Power supply | Runs the decoder | Power port and wall socket | No lights, decoder dead |
| Ethernet | Internet for online features | Network port and router | Catch Up fails, live TV fine |
A short checklist of what to have ready
- A torch and your phone camera for a "before" photo.
- Masking tape and a pen to label each cable by its job.
- The TV remote, so you can change the input.
- Your decoder's own power supply. Never borrow one that "fits".
How to connect DStv decoder cables: 7 steps
Follow this order when you connect DStv decoder cables. It is the same order we use on a new DStv installation, and it avoids most of the mistakes we get called out for.
- Switch off at the wall. Unplug the decoder's power supply first. With an Explora, put it on standby and wait about 30 seconds before you pull the plug, so the hard drive can stop safely.
- Photograph and label. Take a clear photo of the back panel. Label each of your DStv decoder cables with tape: "dish", "TV", "router".
- Connect the satellite cable. Line the F-connector up straight with the LNB input and screw it on by hand until it is snug. Do not use pliers.
- Connect the HDMI cable. Push it firmly into HDMI out on the decoder. Plug the other end into the TV and note which HDMI number you used.
- Connect the network cable if you have one. On the Explora, the Ethernet port is the green one. Plug the other end into a free port on your router.
- Connect power last. Plug the power supply into the decoder first, then into the wall socket or surge protector.
- Switch on and test. Turn on the TV, choose the matching HDMI input and wait for the decoder to start. Flick through a few channels to check the picture is steady.
That is the whole job for a single decoder. If the cable from the roof is damaged or missing, that is a job for our team doing DStv installation in Fish Hoek, not a weekend fix.
Local tip: Never use the decoder's cables as a handle when you pull the cabinet away from the wall. A tug on the satellite cable can crack the centre wire inside the connector, and the fault may only show up days later.
Troubleshooting DStv decoder cables, step by step
If something does not work, go back through your DStv decoder cables in the same order. Each step has its own typical fault.
No picture at all: check HDMI and the TV input
If the decoder lights are on but the TV says "No signal" or "No input", the problem sits between the decoder and the TV. Press the Input or Source button on the TV remote and choose the HDMI number you used.
Still nothing? Try a different HDMI port on the TV, then a different HDMI cable you know works. Behind wall-mounted TVs, a tight bend often damages the plug. Proper TV wall mounting with hidden cabling leaves enough room so the HDMI plug is not forced sideways.
E48-32 or "no signal" from DStv: check the satellite cable
This message means the decoder is on and talking to your TV, but nothing is arriving from the dish. Check that the satellite connector is screwed on straight and not loose. Look at the tip: the thin centre wire must be straight and must not touch the metal braid around it.
If the indoor end looks fine, the fault is usually outside. Our guide to the E48-32 error explained walks through the causes in more detail.
Decoder dead: check the power supply
No lights at all usually means a power problem, not a cable signal problem. Test the wall socket with a lamp. Check the surge protector and the small plug at the back of the decoder.
If the socket works and the decoder still will not start, follow our checks for when a DStv decoder won't turn on before you buy anything new.
Live TV fine but online features fail: check the network cable
If live channels play but Catch Up will not load, the satellite side is fine. The problem is the router, the Ethernet lead or WiFi. On the Explora, press the Help button, choose Tools and run the Connectivity Checker. It shows whether the router and the internet connection are working.
Still staring at a blank screen?
Send us a photo of the back of your decoder and the message on the TV. We will tell you if it is a quick fix or if a technician needs to come out.
Call 079 754 5527WhatsApp usBook onlineExplora, Smart LNB and XtraView connections
The DStv Explora needs a little more care. DStv's own Explora guide says it needs a 90cm dish together with a DStv Smart LNB. The Smart LNB has more than one type of output, and the decoder must be connected to the right one.
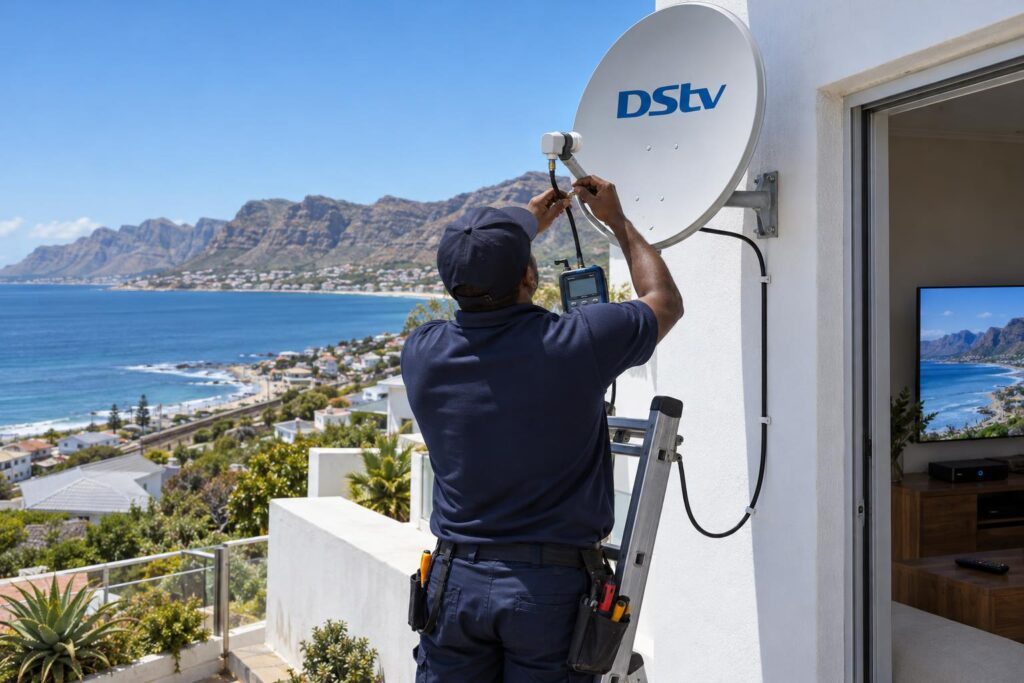
DStv Explora cables and the Smart LNB
Two satellite cables can look identical but come from different LNB outputs. Swap them and you can lose signal or channels. This is why we label DStv decoder cables by job, not by colour.
If your dish still has an old LNB, an Explora upgrade usually means a new one. Our article on the DStv Smart LNB price explains when Fish Hoek homes need one.
XtraView decoder cables
XtraView links two decoders on one account, so each room can watch something different. Both decoders need a satellite feed and need to stay linked. A loose cable on the second decoder often looks like an account problem.
- Check that each decoder has its own satellite cable firmly connected.
- Do not use a cheap aerial splitter to share one satellite cable between two decoders.
When the link drops with a heartbeat message, our guide to XtraView heartbeat errors covers the fixes in order.
Ethernet or WiFi for the Explora?
DStv's own help page says a direct Ethernet cable is the most stable way to get an Explora online, because other wireless devices cannot interfere with it. You can read their steps on connecting your Explora to the internet.
If the router is in another room, there is a wireless option. Our guide shows how to connect your Explora to WiFi and fix it when it drops.
Why Fish Hoek is hard on DStv decoder cables
The DStv decoder cables behind the TV are rarely the real villain here. The weak point is usually the part you cannot see: the outdoor run from the dish, the joins on the roof and the power coming into the house.
Salt air and the outdoor connector
Homes in Clovelly, Glencairn and Kalk Bay sit right on False Bay. Salt mist gets into outdoor connectors, turns the copper green and slowly kills the signal. Water then creeps along inside the cable.
We seal outdoor joins and use a drip loop so water runs off before it reaches the connector. Our page on salt air corrosion prevention shows what we look for on the roof.
The southeaster and cable movement
Summer wind in Fish Hoek is relentless. A cable that is not clipped down flaps against the gutter and the wall for months. In the end the connector works loose or the cable cracks. Neat clips every metre or so and a proper loop at the dish stop most of this.
Load shedding and power surges
When the power comes back after an outage, the surge can damage a decoder power supply. DStv's Explora guide recommends protection on the mains supply in areas with lightning. A decent surge protector is cheap insurance for every decoder in the house.
Holiday homes, complexes and older houses
Holiday homes in Simon's Town and Noordhoek often sit empty for months. Cables get unplugged by guests or swapped around. In complexes around Sun Valley and Sunnydale, many units share one dish system, so a fault may sit on common property that the body corporate controls. Older houses in Capri often still have cables run decades ago.
Hiding DStv decoder cables neatly
Nobody wants a mess of wires down the lounge wall. Tidy DStv decoder cables are also more reliable, because they do not get pulled or kinked.
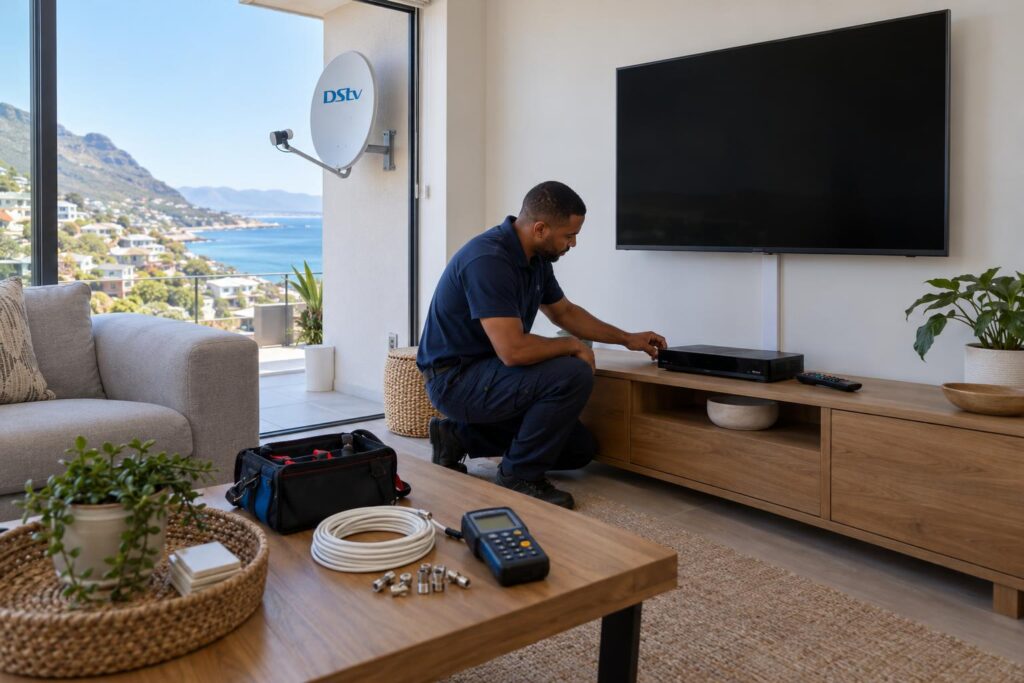
- Leave a small loop of spare cable behind the decoder so it can move without strain.
- Keep power cables and satellite cables apart where you can, to reduce interference.
- Avoid sharp bends in the satellite cable. A gentle curve is fine. A fold is not.
If you are rearranging the lounge, it often makes sense to plan the TV, decoder and cables in one visit. Our local DStv installers in Fish Hoek can move the TV point, rerun the cable and leave the wall clean.
When to fix it yourself and when to call us
You can safely handle the DStv decoder cables inside the house. Reseat them, change the TV input, swap an HDMI lead and test the power socket.
Call a technician when the fault is on the roof, when the cable is damaged inside a wall or when the signal comes and goes with the wind. Working on a ladder in a southeaster is not worth the risk. We cover Fish Hoek and the whole Far South, from Kalk Bay to Simon's Town and out along the Kommetjie road.
Want it sorted properly?
Our team will trace the fault, reseal the outdoor joins and test every decoder before we leave. Call or WhatsApp us with your decoder model and the message on screen.
Call 079 754 5527WhatsApp usBook onlineDStv decoder cables: frequently asked questions
What cables does a DStv decoder need?
A DStv decoder needs a satellite cable from the dish, an HDMI cable to the TV and its own power supply. An Ethernet cable is optional and only needed for online features like Catch Up.
Can I use ordinary TV aerial cable for DStv?
We do not recommend it. DStv needs good quality 75-ohm satellite coaxial cable, usually RG6, with proper F-connectors. Thin or old aerial cable loses signal and corrodes quickly near the sea.
Why does my TV say "No signal" when the DStv decoder is on?
Usually the TV is on the wrong input or the HDMI cable is loose. Press Input or Source on the TV remote and choose the HDMI port the decoder is plugged into. If that does not work, try another HDMI cable.
Can I split one DStv satellite cable to two decoders?
Not with a cheap aerial splitter. It can block the control signals between the decoder and the LNB. Two decoders need the right LNB outputs or a proper distribution system.
How do I connect DStv decoder cables to a smart TV?
The same way as any TV. Run an HDMI cable from the decoder's HDMI out to an HDMI in on the smart TV, then select that HDMI input with the TV remote.
Is it safe to unplug DStv decoder cables while the decoder is on?
No. Switch off and unplug the power first. DStv's own guidance for the Explora is to put it on standby, wait 30 seconds and disconnect the power before you touch the other cables.