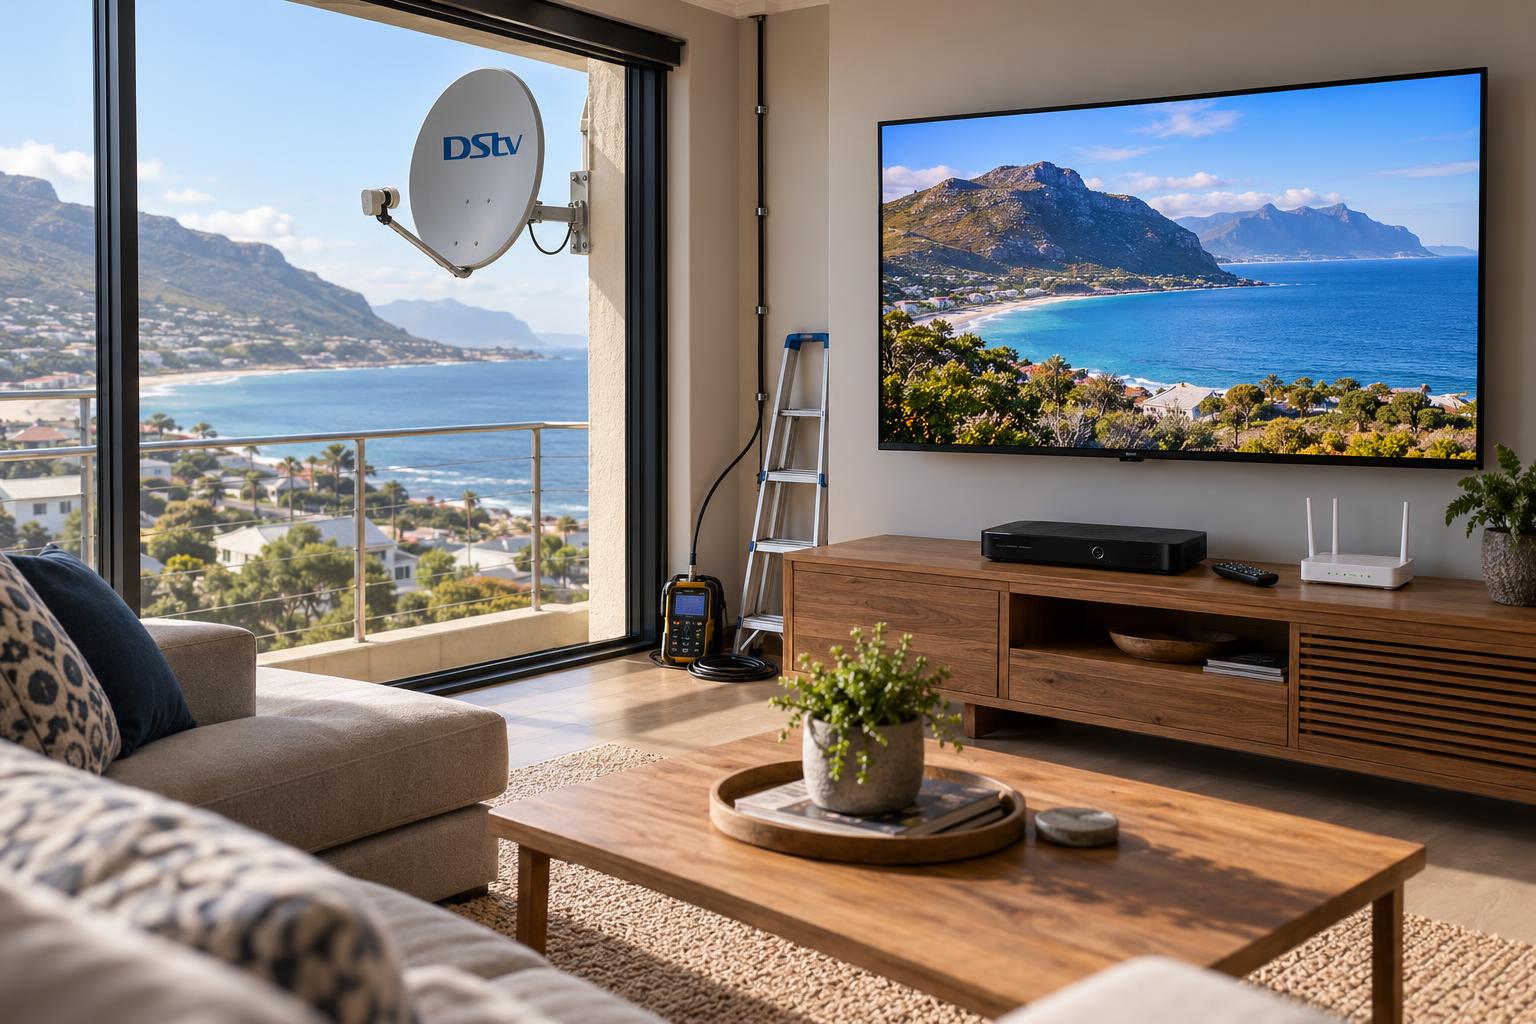
Quick answer: To connect DStv Explora to WiFi, check your model first. An Explora Ultra has WiFi built in, so you set it up under Connectivity Set Up in the System Settings menu. An older Explora needs a DStv WiFi Connector or an Ethernet cable plugged into the green port at the back. Then run the Connectivity Checker and switch on Connected Services.
Here is the simple way we connect DStv Explora to WiFi Fish Hoek homes can depend on, plus what to do when it keeps dropping. Your Explora shows live channels from the dish, but Catch Up, Box Sets and streaming apps need the internet. Getting that link right is a small job with a big payoff.
We have written this as a buyer's guide. First you choose the right type of connection. Then we look at costs, the setup itself and the mistakes we see most often on call-outs.
Key points before you connect DStv Explora to WiFi
- The internet link only affects Catch Up, Box Sets, BoxOffice and apps. It does nothing for your satellite picture.
- The Explora Ultra has built-in WiFi. Older Explora models need a WiFi Connector or a cable.
- DStv asks for at least 4Mbps for SD streaming and recommends 10Mbps for HD.
- A cable is the most stable option. WiFi is fine when the router is close and the walls are thin.
- Connected Services must be switched on after you connect.
Connect DStv Explora to WiFi or cable: decide first
The biggest choice is not which menu to open. It is how the internet reaches the decoder. Get this right and the setup takes ten minutes. Get it wrong and the Explora drops out every evening.
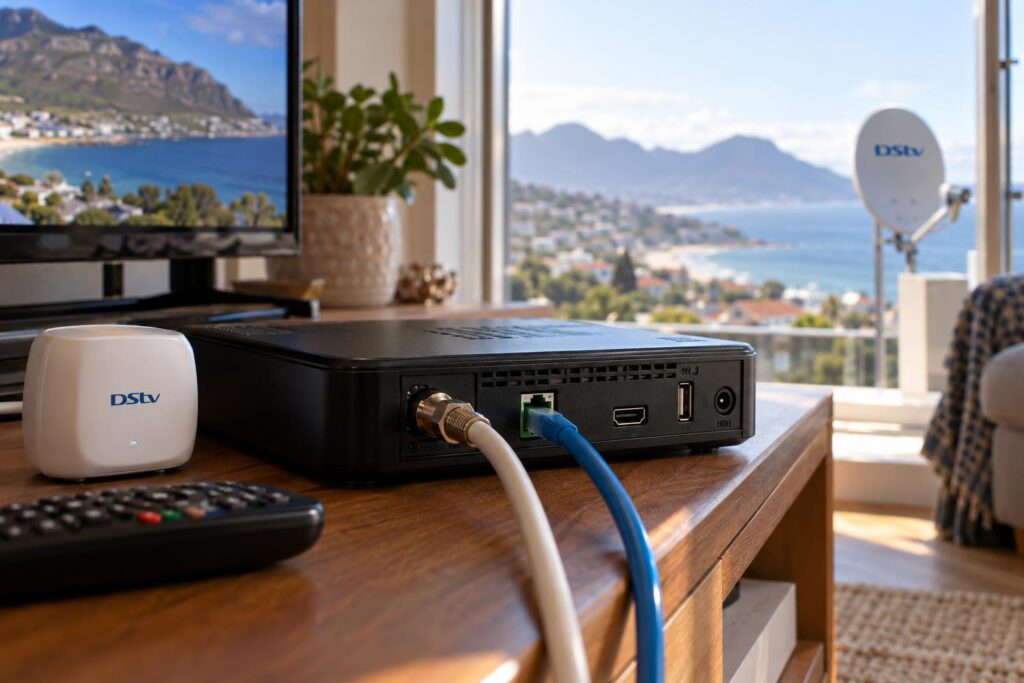
Which Explora do you have?
Look at the front of the decoder and the label underneath. The Explora Ultra connects to your home WiFi on its own. Older Explora models have a green Ethernet port at the back but no wireless inside them.
If you are still deciding which box to buy, our guide to Explora vs Explora Ultra explains the real differences.
What speed and data do you need?
DStv sets clear minimums. You need about 2Mbps for downloads and remote recording. Streaming needs 4Mbps for SD and 10Mbps or more for HD.
DStv also asks for an unlimited internet connection. Catch Up and apps use a lot of data, so a capped package runs out fast.
How far is the router from the TV?
Distance decides how you connect DStv Explora to WiFi, and this is where Fish Hoek houses differ so much. A compact Sun Valley townhouse may have the router two metres from the TV. A long double-brick home in Clovelly can have the router at one end and the lounge at the other.
- Same room as the router: use an Ethernet cable.
- One wall away: built-in WiFi or a WiFi Connector usually works.
- Two or more thick walls, or another floor: plan a wired point or a proper access point.
Explora WiFi options compared: built-in, connector or cable
Here are the main ways to connect DStv Explora to WiFi or a cable, side by side. We use all of them, depending on the house.
| Option | Works with | Stability | Best for |
|---|---|---|---|
| Ethernet cable to the router | All Explora models | Best | Router in the same room as the TV |
| Built-in WiFi | Explora Ultra | Good when the signal is strong | Router one room away |
| DStv WiFi Connector | Older Explora models | Good when the signal is strong | Router in another room |
| Cabled access point or mesh node | All Explora models | Very good | Large homes, thick walls, double storeys |
A cable wins every time on stability. DStv itself says a cabled link avoids interference from other WiFi, Bluetooth and smart devices in the home.
The cable at the back of the decoder matters too. If you are unsure which port does what, our guide to DStv decoder cables and connections shows every socket in plain terms.
What it costs to connect DStv Explora to WiFi
For many homes it costs close to nothing to connect DStv Explora to WiFi. If the router is near the TV, a network cable is all you need.
DStv WiFi Connector price
At the time of writing (October 2026), Makro lists the DStv Wi-Fi Connector at R199. You only need one for an older Explora. The Explora Ultra does not need it.
Do not buy a generic USB WiFi dongle from a computer shop. The decoder is built to work with the DStv accessory.
Our setup and call-out prices
Our published Explora Setup starts from R2,200 for a full Explora or Explora Ultra installation and configuration. A repair or diagnostic call-out starts from R550. Equipment costs are additional, and we quote before any work starts.
If you are buying a new decoder at the same time, see our breakdown of Explora and Explora Ultra prices for Fish Hoek homes.
Booking a full DStv installation in Fish Hoek? We connect the Explora to your network as part of the job and test it before we leave.
When a network upgrade is worth it
If the router simply cannot reach the TV, a better connector will not save you. That is when a cabled access point earns its keep. It costs more upfront, then it just works.
Explora online but always buffering?
Our local team can test your WiFi where the decoder sits and tell you honestly whether a cable, connector or access point is the fix.
Call 079 754 5527WhatsApp usBook onlineHow to connect DStv Explora to WiFi, step by step
Before you connect DStv Explora to WiFi, make sure the router is on and the internet works on your phone. Then follow the steps for your model.
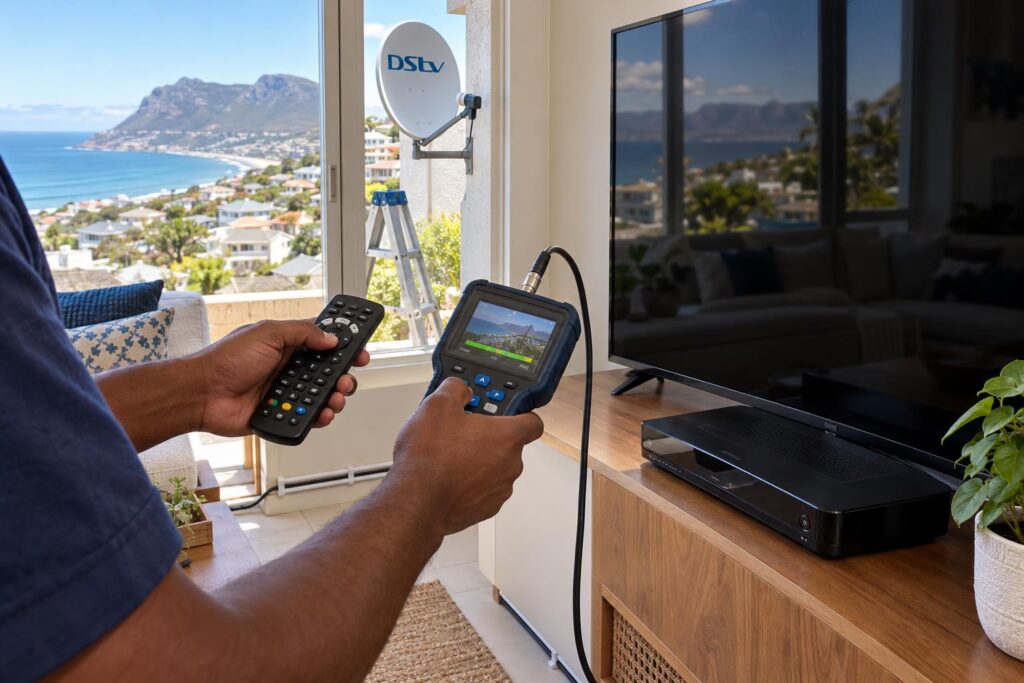
Explora Ultra: built-in WiFi
- Switch on the TV and the Explora Ultra.
- Press the blue DStv button on the remote.
- Open System Settings and choose Connectivity Set Up.
- Choose your home WiFi network from the list.
- Enter your WiFi password carefully. Capital letters matter.
- Wait for the decoder to confirm the connection.
Older Explora with a DStv WiFi Connector
This is the way to connect DStv Explora to WiFi on older models that have no wireless inside.
- Place the Connector next to the Explora, not on top of it.
- Plug its power cable into a USB port at the back of the Explora.
- Wait for the power light on the Connector to glow white.
- The setup wizard should open and search for networks.
- Pick your network with the arrow keys and press OK.
- Type the password with the number pad, or press ALT for the on-screen keyboard.
If your router has a WPS button, DStv also allows a WPS setup. You press WPS on the router, then on the Connector, and wait about two minutes.
Check it and switch on Connected Services
Press the Help button, choose Tools, then Connectivity Checker. You want two green ticks: router connection and internet connection.
On older Explora models, Connected Services are off by default. Press the blue DStv button, go to Settings, User Preferences, then Connected Services, and switch on what you want. DStv has a full guide to connecting your Explora to the internet if you want the official version.
Prefer a technician to do it? Our DStv Explora installation service includes the network link, Connected Services and a walk-through of every feature.
Explora WiFi not working? Fixes when it drops
So you managed to connect DStv Explora to WiFi, but it keeps dropping? Most dropouts we see come from the network, not the decoder, so work from the router outwards.
Quick checks you can do yourself
- Open a website on your phone next to the TV, on the same WiFi.
- Restart the router, wait two minutes, then restart the Explora.
- Check that the WiFi name or password has not changed.
- On older models, make sure the Connector is still plugged in firmly.
- Run the Connectivity Checker again and note which tick is missing.
A missing router tick points to the WiFi link. A missing internet tick points to the line beyond the router.
New router, same problem
This one catches many Fish Hoek homes after a fibre upgrade. The new router has a new name and password, so the Explora is still looking for the old one. Run the connection setup again and choose the new network.
Connected, but Catch Up will not play
A connected decoder can still struggle to stream if the speed is too low in that room. Our article on DStv Catch Up not working covers the other causes.
Offline after a power cut
Live channels may come back on a backup battery, but the Explora stays offline if the router has no power. Our guide to DStv after load shedding explains what to restart and in which order.
Local tip: Holiday homes in Glencairn, Kalk Bay and Simon's Town often have the router switched off between visits. Switch it on first and give it a few minutes before you blame the decoder.
Mistakes to avoid with Explora internet
These slips make it harder to connect DStv Explora to WiFi and keep it there. We see them on call-outs across the Far South, and each one is easy to avoid.
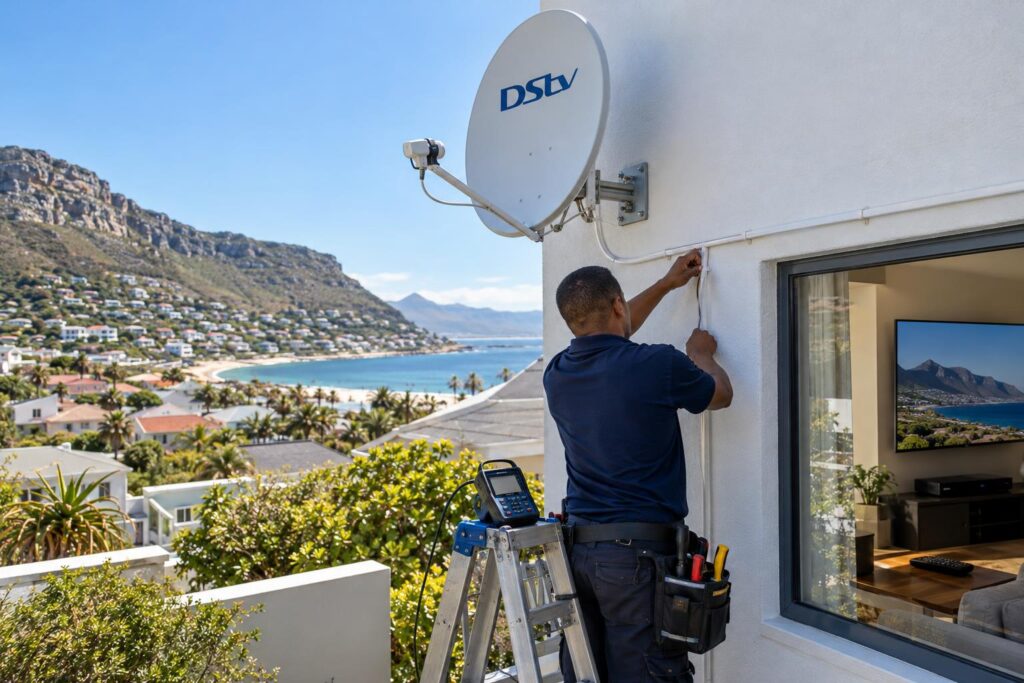
- Expecting WiFi to fix the picture. Pixelation in a southeaster or an E48-32 error is a dish, LNB or cable fault.
- Using a cheap plug-in extender. It can show full bars while the stream keeps stalling.
- Stacking the Connector on the decoder. DStv says to place it alongside, not on top.
- Factory resetting first. A reset wipes your settings and does not make a weak signal stronger.
- Forgetting Connected Services. Older models stay offline for Catch Up until you switch them on.
- Ignoring data caps. Streaming can eat a capped package in a few days.
Thick walls are the real enemy here. Older brick homes in central Fish Hoek and on the Noordhoek side swallow WiFi fast. Our WiFi and network installation team can run a neat Cat6 cable or place an access point where the TV actually is.
Complexes and flats
In Sunnydale and Capri complexes, many neighbours' networks crowd the same airwaves. A wired link avoids that clash completely. If you cannot run a cable, place the router high and central so it is easier to connect DStv Explora to WiFi in your unit.
Getting a technician to connect DStv Explora to WiFi
Sometimes the quickest way to connect DStv Explora to WiFi properly is a visit. Our Fish Hoek DStv installers test the WiFi where the decoder sits, not where the router is, and fix the weak link.
Here is what we do on a typical Explora network visit:
- Check the satellite signal so we know the live picture is sound.
- Test the internet speed at the TV position.
- Choose cable, built-in WiFi, a Connector or an access point.
- Connect the Explora and run the Connectivity Checker.
- Switch on Connected Services and test Catch Up and apps.
We cover Fish Hoek, Clovelly, Sun Valley, Kalk Bay, Glencairn, Simon's Town and Noordhoek. Tell us your Explora model and where the router sits, and we will give a clear quote.
Want your Explora online and staying online?
Call or WhatsApp our False Bay team. We will connect it, test it and show you how it all works.
Call 079 754 5527WhatsApp usBook onlineConnect DStv Explora to WiFi: common questions
Can you connect DStv Explora to WiFi?
Yes. The Explora Ultra has WiFi built in. Older Explora models connect with a DStv WiFi Connector or an Ethernet cable to the router.
How do I connect my DStv Explora Ultra to WiFi?
Press the blue DStv button, open System Settings and choose Connectivity Set Up. Pick your network, enter the password and wait for the confirmation. Then test with Catch Up.
How much is a DStv WiFi Connector?
At the time of writing (October 2026), Makro lists it at R199. You only need it for older Explora models, not the Explora Ultra.
Why does my DStv Explora keep dropping WiFi?
The usual causes are a weak signal at the TV, a changed router password or a router that lost power. Run the Connectivity Checker to see which link is failing. If the TV is far from the router, a cable or access point is the lasting fix.
What internet speed does an Explora need?
DStv asks for at least 2Mbps for downloads and remote recording and 4Mbps for SD streaming. For HD, 10Mbps or more is recommended, on an unlimited connection.
Will WiFi fix my DStv signal or E48-32 error?
No. Live channels come from the dish, LNB and cable. The internet link only affects Catch Up, Box Sets, BoxOffice and streaming apps.